
A quartz worktop is not cut from a rough sketch and carried straight into your kitchen. If you want your quartz worktop to end up exactly how you want it, it needs to go through processes like quote review, kitchen preparation, templating, CNC fabrication, delivery, fitting and final checks.
What’s key is that every kitchen has its own details that define those processes. A straight run with one sink cut-out is not planned in the same way as an L-shaped layout, a large island, a Belfast sink, a flush hob or full-height splashbacks. Tap holes, socket cut-outs, overhangs, joins, and cabinet support can all change how the worktop is made and fitted.
If you are still comparing quartz worktop costs alongside colours and fitted quote options, it helps to understand the installation process before you choose the final stone. The same layout details that affect fitting also affect the quote.
What Is the Quartz Worktop Installation Process?
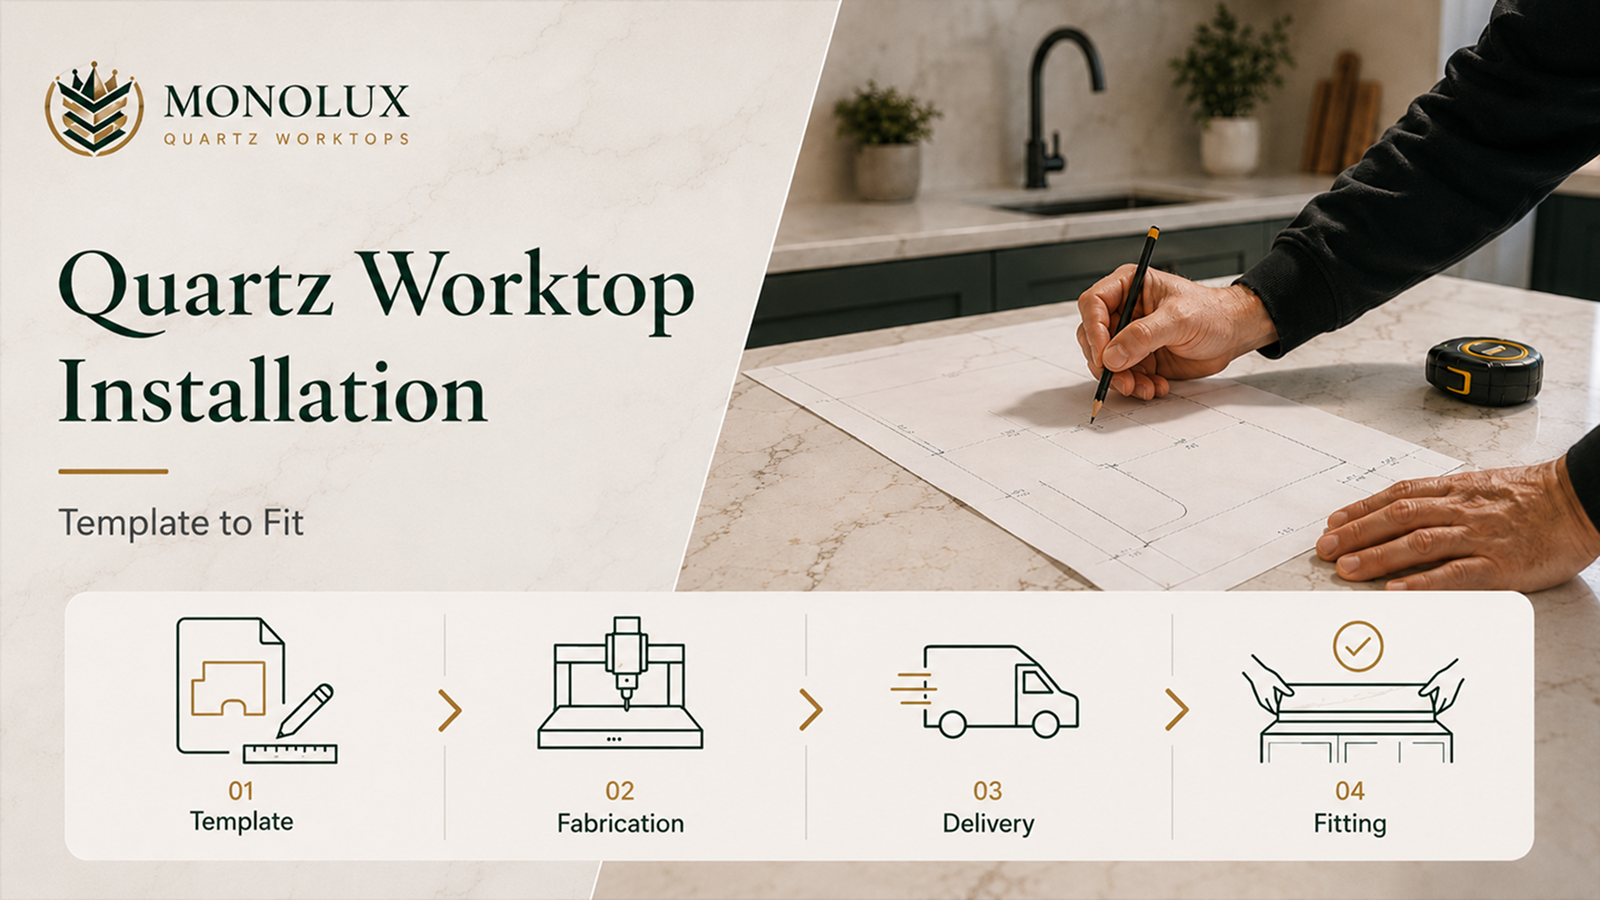
The quartz worktop installation process follows a clear sequence from planning to final checks:
- Quote and layout review
- Templating once cabinets, sinks, hobs and key fittings are ready
- Workshop cutting and polishing, including cut-outs, edges, joins, upstands and splashbacks
- Delivery of the finished pieces
- Checking cabinet support
- Positioning and levelling the quartz
- Joining sections
- Final finish checks
- Basic care guidance before handover
With that in mind, let’s take a look at each step in detail.
Before Installation Starts: Quote Review and Layout Details
The installation plan starts before the templater visits your home. Your quote needs enough detail to show what will be made, moved and fitted.
For a fitted quartz worktop quote, the main details include:
- quartz colour and finish
- slab thickness, usually 20mm or 30mm
- each worktop run and island section
- sink, hob and tap positions
- drainer grooves
- extra cut-outs
- edge profile
- upstands, splashbacks or wall panels
- access, delivery area and fitting requirements
A material-only price can help you compare quartz colours, but it does not show the whole fitting job. The finished surface also includes templating, cutting, polishing, transport, lifting, joining and fitting.
That is why layout and worktop details matter as much as the stone itself when planning a fitted quartz surface. For a deeper price breakdown and a clearer understanding of what affects the final cost, see our quartz worktop budget guide.
What Must Be Ready Before Quartz Templating?
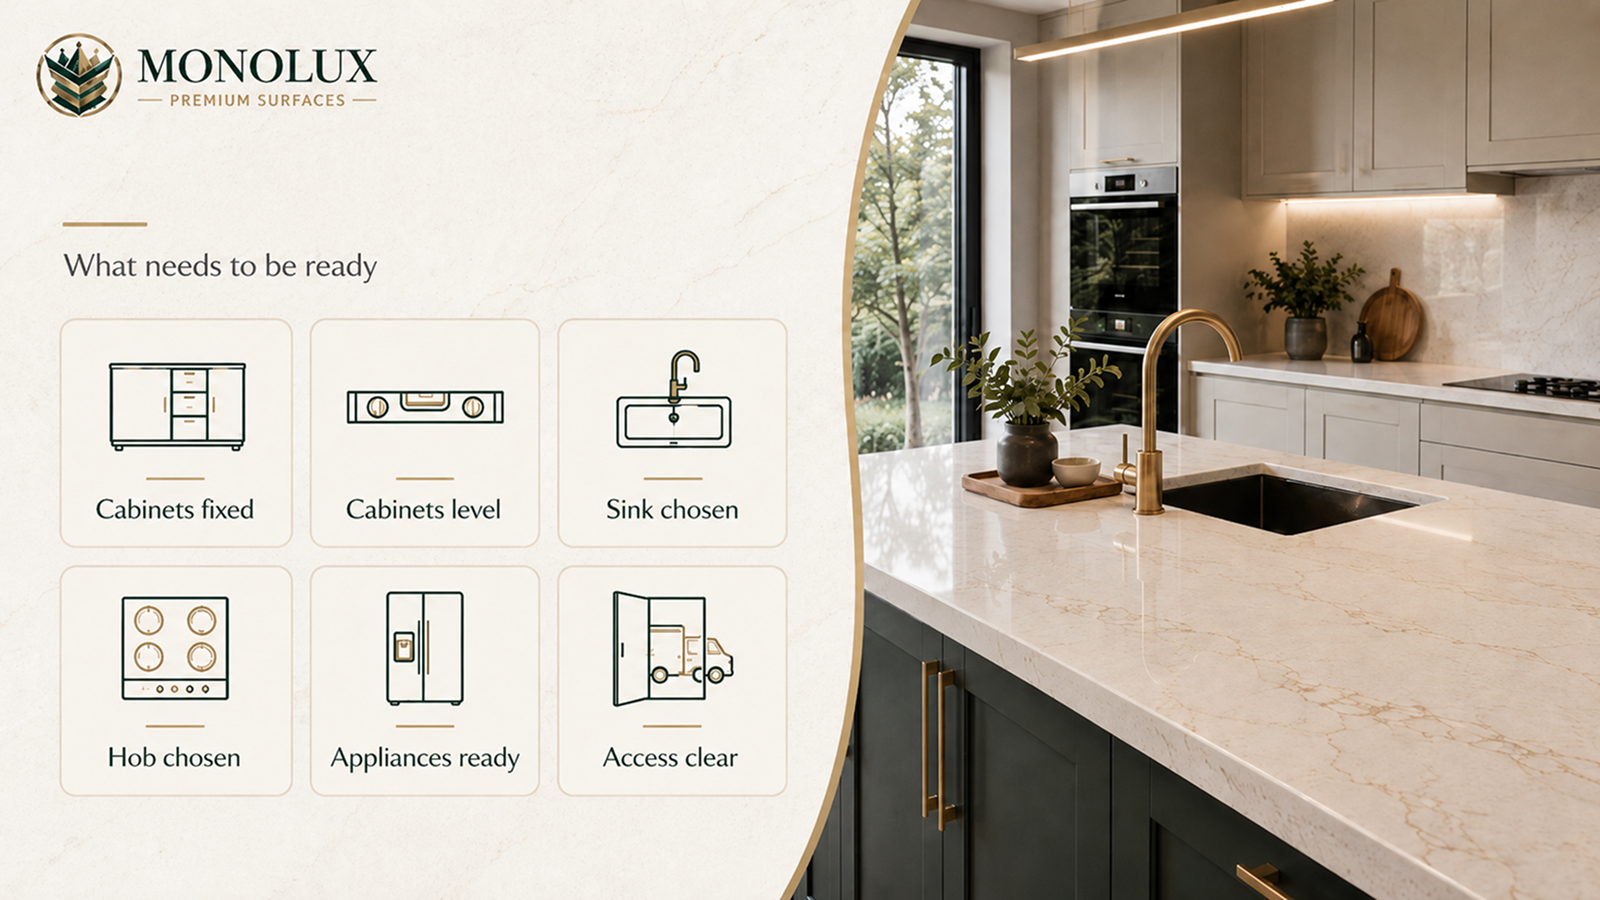
Templating is the point where your kitchen is measured for the final worktop. It is much more accurate than working from early plans, but the kitchen needs to be ready.
Before quartz templating, have these details ready:
- base cabinets fixed in their final position
- cabinets level, stable and strong enough to support quartz
- sink, hob and tap models chosen
- appliances on site if they affect a cut-out
- Belfast or undermount sink position agreed
- Upstands or splashbacks confirmed if included
- wall units, extractor and socket positions set if splashbacks are being measured
- old worktop removal agreed if this is a replacement project
- Parking and access arranged for the templater
- homeowner, contractor or kitchen fitter available to answer questions
If a cabinet moves, a sink changes, a hob model is swapped, or a wall panel is added after templating, the quartz may no longer match the final layout. That can lead to extra fabrication, delays or a worktop that cannot be fitted as planned.
This is especially important for L-shaped kitchens, islands, awkward corners and custom cuts. A few millimetres can change how neatly a join sits, how the worktop meets the wall and how neat the hob or sink opening looks.
Step 1: Templating the Quartz Worktops
Templating is the made-to-measure stage. Think of it like a tailor measuring a suit. A plan might look square, but real walls, corners and cabinet runs often have tiny differences. The template records those differences so the quartz can be cut for the actual room.
What is checked during templating: During templating, the team checks worktop lengths, depths, wall angles, corners, overhangs, island size, appliance positions, join locations, cut-outs, edge profile, upstands and splashbacks.
Confirming finish details: This is also the right time to confirm details that affect the finish. A large island may need a planned join or extra handling. An undermount sink needs accurate support and a neat, polished opening. A flush hob needs the right cut-out and clearance. A waterfall end or mitred edge needs more workshop planning than a straight run.
Thickness considerations: Thickness also comes into the fitting discussion here. A 20mm quartz worktop gives a slimmer look, while 30mm has more visual weight. Deciding on 20mm or 30mm quartz depends on layout, cabinet support, edge detail, island size and style.
Our 20mm vs 30mm quartz worktops guide explains that choice in more detail.
Step 2: CNC Fabrication in the Workshop
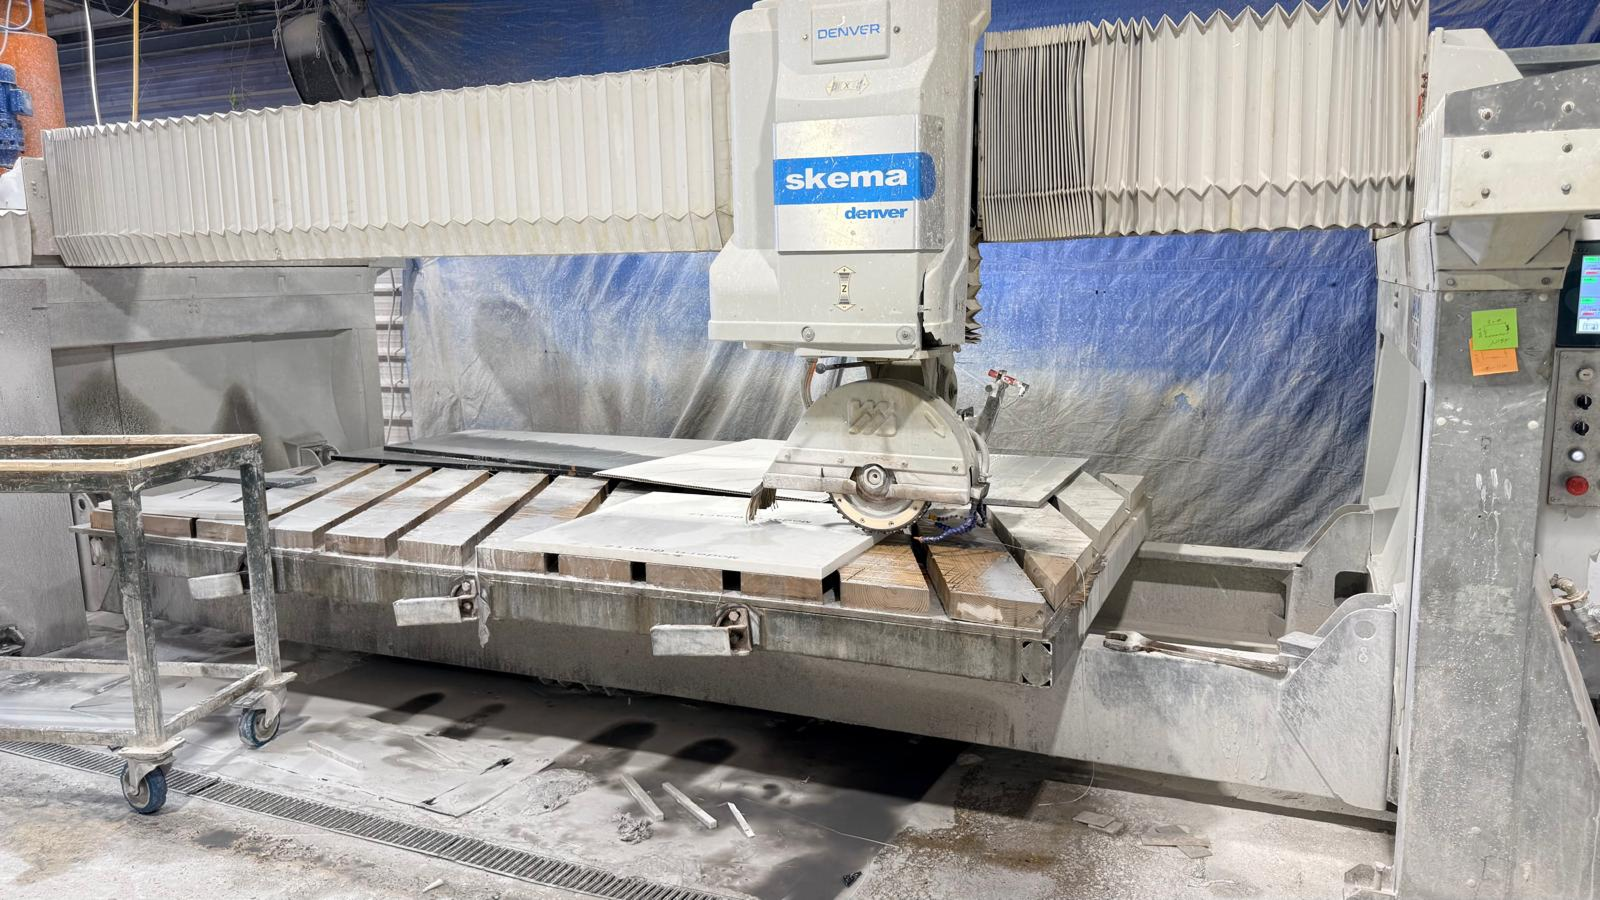
After templating, the measurements go to fabrication. This is where the selected quartz slab is turned into the pieces for your kitchen.
At MonoLux, cutting, polishing, edge profiles, sink cut-outs and hob cut-outs are handled through our in-house CNC fabrication process. This gives us better control over finish, fit and turnaround.
Fabrication can include:
- cutting the quartz to the template
- polishing visible edges
- shaping the chosen edge profile
- cutting sink and hob openings
- drilling tap holes
- adding drainer grooves
- preparing joins
- cutting upstands or splashbacks
- checking the surface before delivery
Note: Professional quartz installation is different from fitting a basic timber or laminate surface. Quartz is heavy, hard and unforgiving if it is cut incorrectly. Cut-outs for sinks, hobs and taps need specialist equipment and careful planning. Good fabrication also reduces cutting inside the home, per HSE guidance.
This stage explains why extra details can affect the fitted quote. More complex layouts with features like islands, multiple joins, undermount sinks, drainage grooves, tall splashbacks and socket cut-outs typically require additional fabrication time and precision.
Our guide to the hidden costs of quartz kitchen worktops covers those quote extras in more detail.
Step 3: Preparing Your Kitchen for Fitting Day
Once fabrication is complete, the focus moves back to your home. Fitting day runs more smoothly when the kitchen is clear, accessible and ready for heavy worktop sections.
Before the fitting team arrives:
- Clear the worktop area and nearby floor space
- Remove fragile items from the kitchen and the access route
- Keep children and pets away from the work area
- Clear the route from the van to the kitchen
- Check narrow halls, stairs, tight turns and doorways
- Arrange parking or loading access close to the property
- Make sure any agreed old worktop removal has been handled
- Check that cabinets have not moved since templating
- Have your plumber’s, gas engineer’s or electrician’s plan ready for reconnection after fitting
These details are especially important in flats, townhouses, terraced homes, tight side returns and kitchens with a long route from the front door. The quartz pieces have already been made to the template, so blocked access, a cluttered fitting area, moved cabinets or an old worktop still in place can slow the day down.
Step 4: Delivery, Lifting and Positioning
On fitting day, the fabricated quartz pieces are delivered to your home. They should already be cut, polished and prepared from the template.
The fitting team moves the sections into the kitchen, checks the cabinet support and places each piece carefully into position. Quartz worktops can be large and heavy, and a rushed lift can chip an edge, damage a cabinet or mark a wall.
The team may dry-fit the pieces before bonding them. This means checking the fit first, making sure the pieces sit neatly on the cabinets, meet the walls neatly and line up with the sink, hob and join positions. Any small adjustment needs to be handled carefully, because quartz is certainly not a flexible material.
Step 5: Joins, Cut-Outs, Sinks, Hobs and Splashbacks
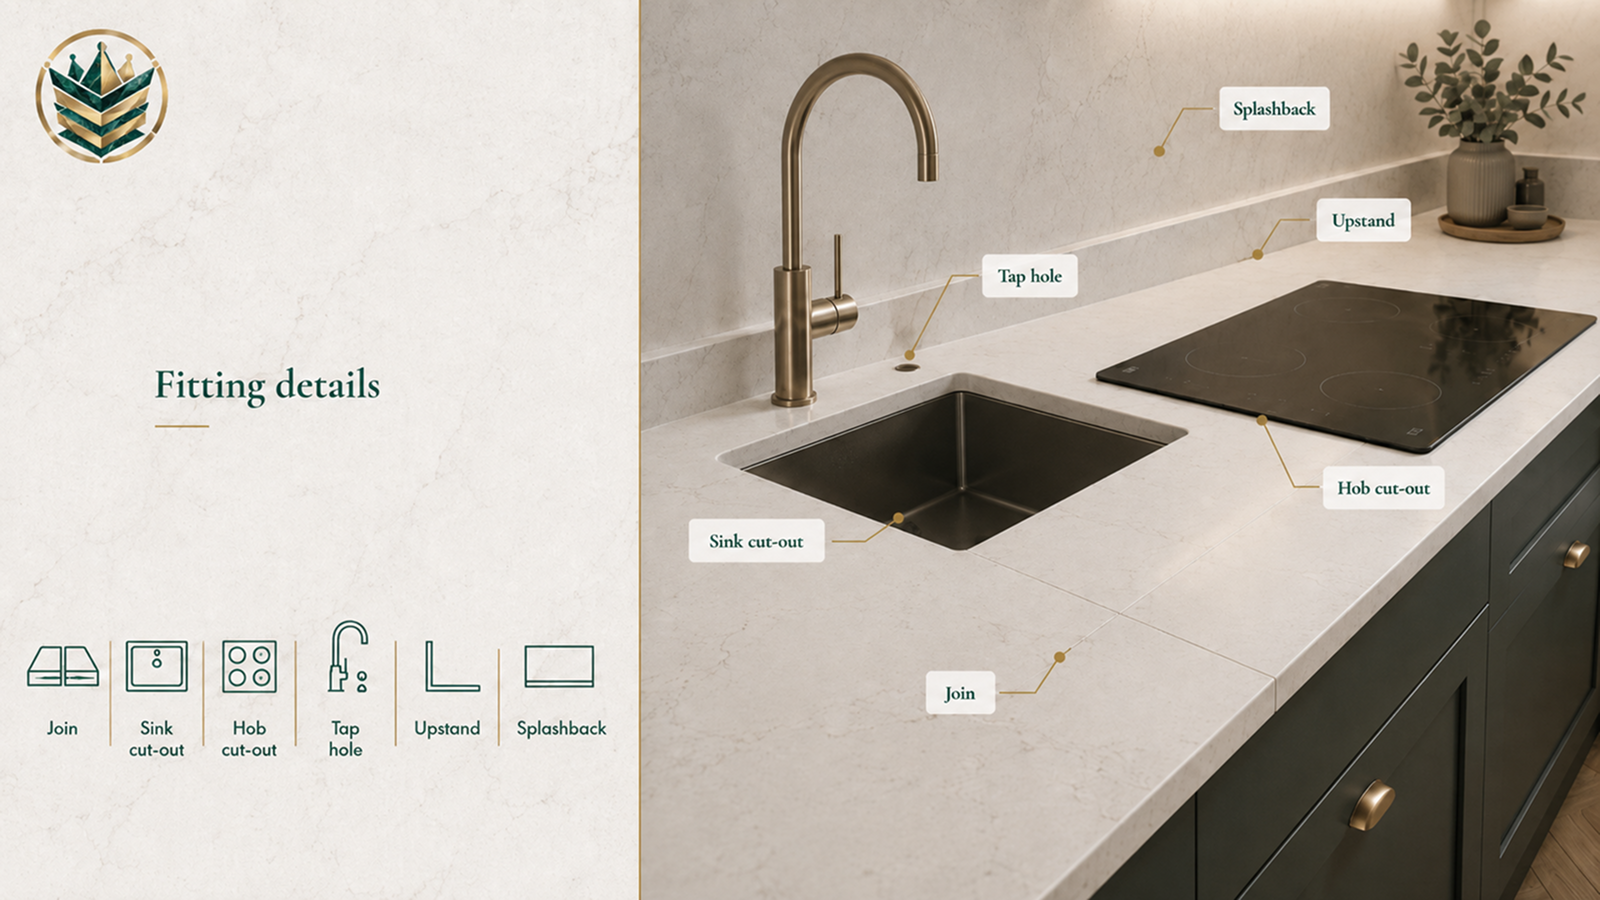
This is the stage where the measured and fabricated pieces become a finished kitchen surface, with each join, opening and wall detail checked as the quartz is set into place.
Joins
Most kitchens need at least one join, especially L-shaped layouts, long runs and island projects. A join is the point where two separate pieces of quartz worktop are connected together to form a continuous surface. Joins are planned during templating and fabrication, then aligned on site. Colour-matched resin or suitable adhesive is used to bond the pieces and make the seam as neat as possible.
Sinks
Sink details should be agreed before templating. An undermount sink needs a polished opening and suitable support below the quartz. A Belfast sink needs its position and height agreed properly. A top-mounted sink has a different type of cut-out.
After the worktop is fitted, plumbing normally needs to be reconnected by the right trade professional. Ask the fitting team about cure time around adhesives, silicone or sealant before using the sink area heavily.
Hobs, Taps and Extra Cut-Outs
Hob cut-outs need the exact appliance model and position. Induction hobs can have clearance requirements below the worktop, and some layouts need extra attention around drawer units, ventilation and cabinet rails.
Tap holes, pop-up sockets, and other accessories also need accurate placement. If you want a boiling water tap, filtered water tap, soap dispenser or pop-up socket, include it before templating.
Upstands and Splashbacks
Upstands and splashbacks finish the line between worktop and wall. They can make the kitchen look more complete, but they also add measurement and fitting details.
For full-height splashbacks, the team may need to consider sockets, wall units, extractor position and hob area. A tall splashback behind a hob is a different job from a simple low upstand around a straight run.
How We Planned the Details for Dominic’s Kitchen
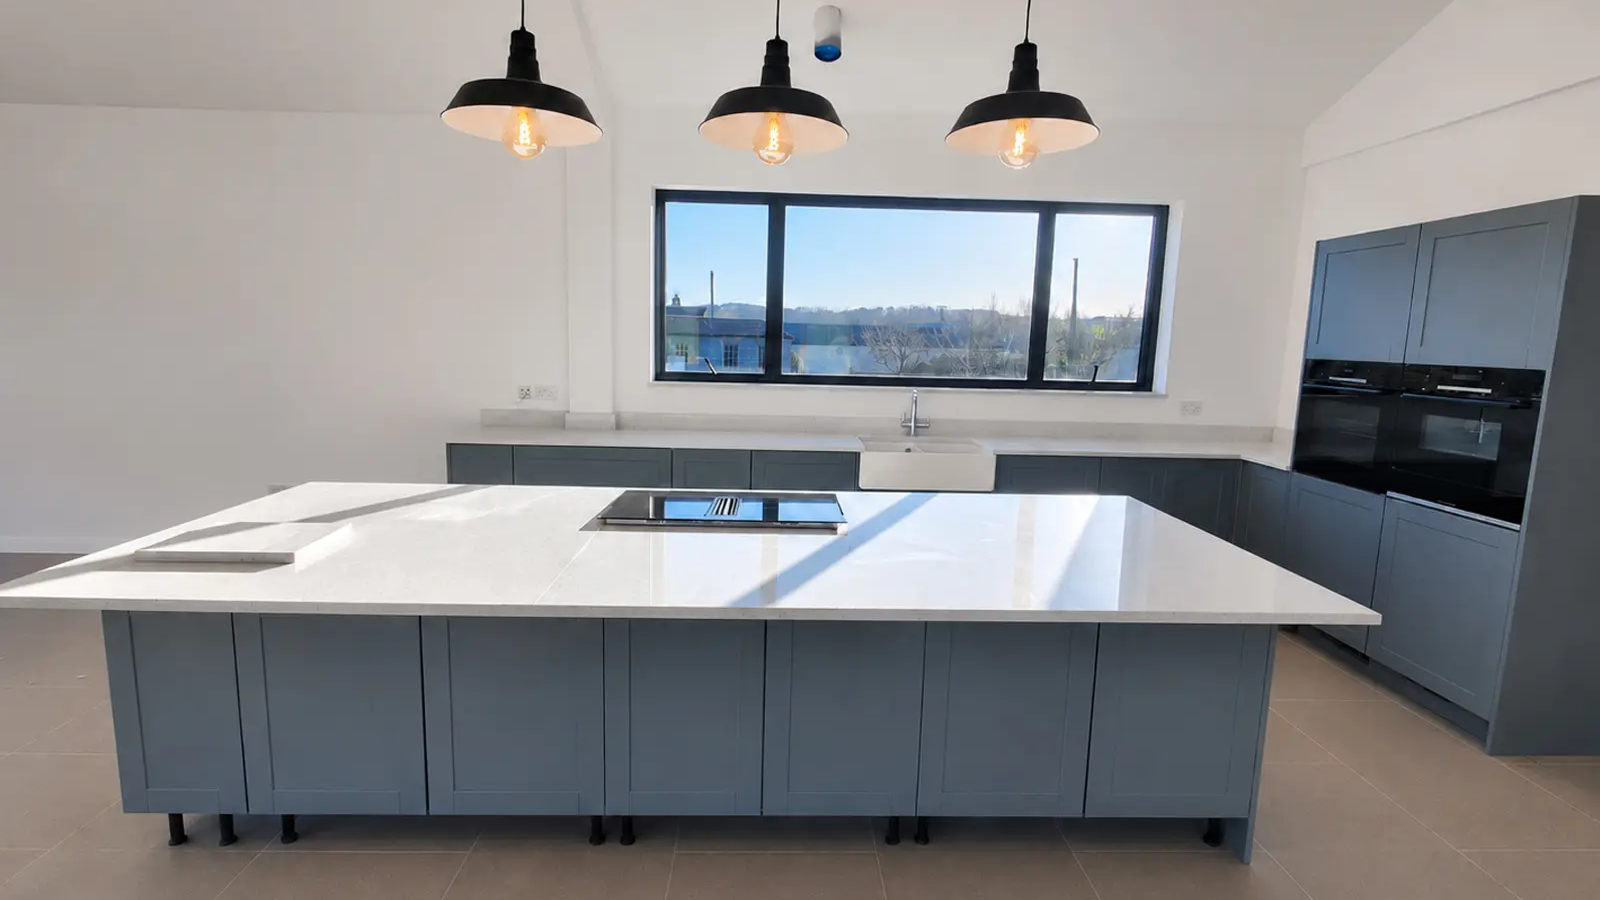
Dominic Kingsley’s Southampton kitchen shows why the fitting details matter. The project used Mono Arctic Starburst quartz across a bright kitchen with a large island, flush induction hob, downdraft extractor, Belfast sink and matching upstands.
Those details all need planning before the quartz is cut. The hob and extractor affect the island layout. The Belfast sink affects the sink run. The upstands need to meet the walls neatly. The finished kitchen also had to keep the bright, spacious look that made Arctic Starburst the right choice.
Dominic said the mirror flecks helped brighten the room, and the island became a dream to cook on. You can see Dominic’s finished Southampton kitchen and how the final worktops brought those details together.
Step 6: Final Checks, Sign-Off and First Care Advice
Before the fitting team leaves, check the finished worktop with them.
First checks:
- Look at the visible joins, edges, corners, sink opening, hob opening, tap holes, upstands, splashbacks, overhangs, surface alignment and any marks from fitting.
- Ask questions while the installers are still present.
Sign-off:
- Ask how long to leave silicone, resin or adhesive around sinks and joins before heavy use.
- Confirm who to contact if any issues appear after installation.
- Ask about care, heat protection and chopping boards.
First care advice:
- Remember that quartz does not normally need sealing like many natural stones.
- For normal care, use a soft cloth and mild soap.
- Avoid cutting directly on the surface.
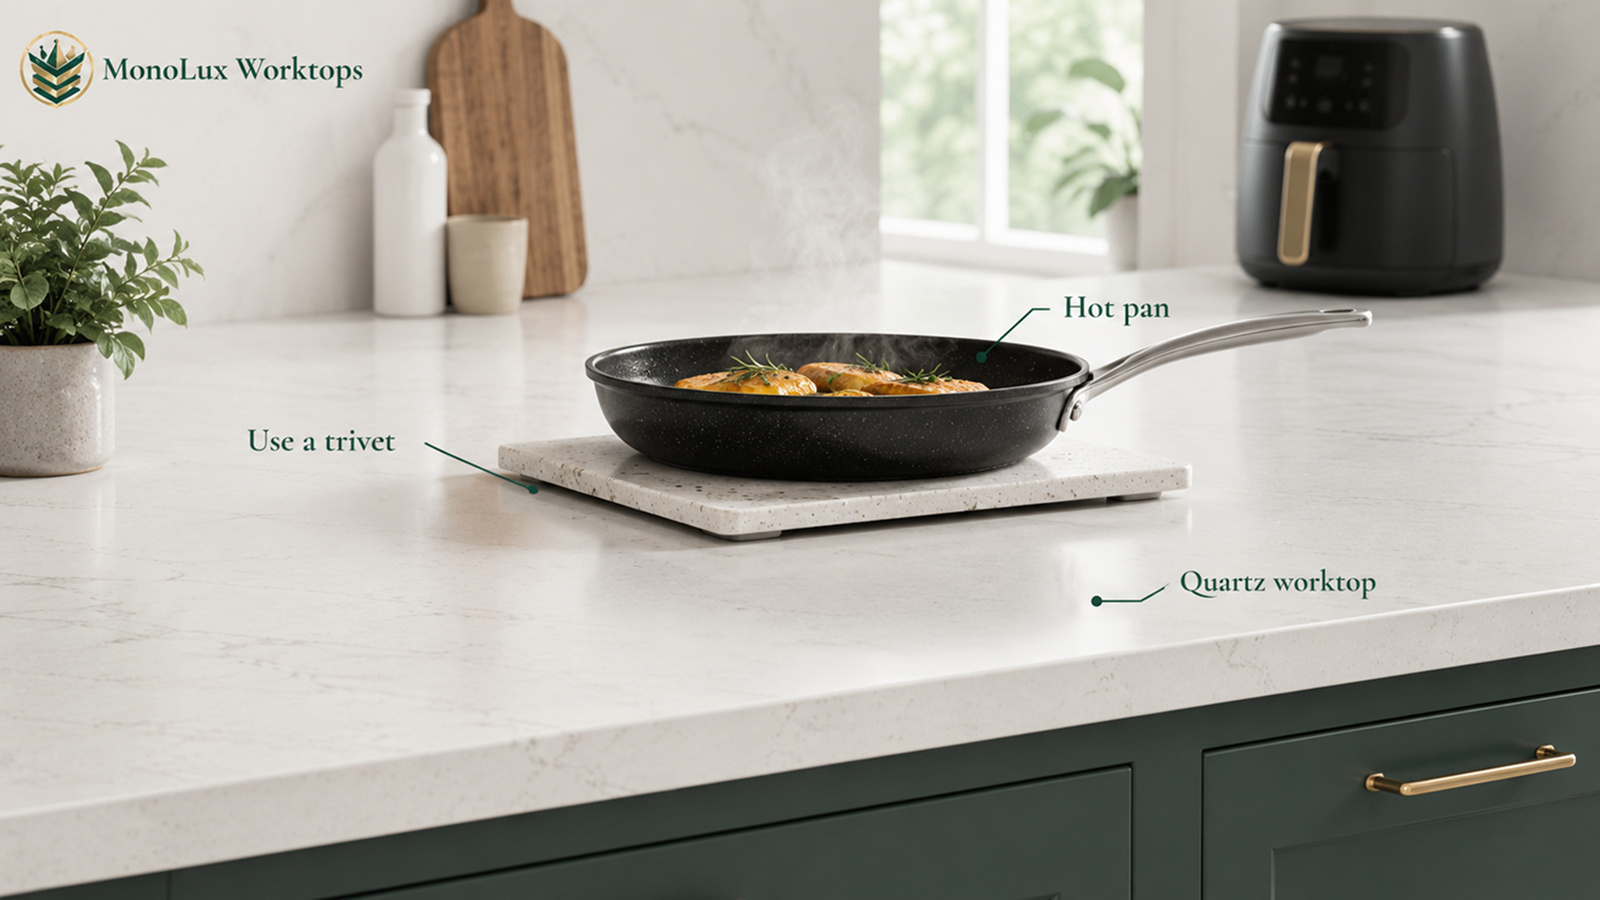
- Use trivets or heat pads under hot pans, oven trays and air fryer baskets.
How Long Does Quartz Worktop Installation Take, and What Can Delay It?
Quartz worktop installation is not just the fitting day. The full timeline usually includes quote review, templating, workshop fabrication, delivery, fitting and final checks.
Common causes of delay include:
- cabinets not fixed, level or stable
- sink, hob or tap details changed after templating
- appliances missing from site during templating
- old worktops not removed when required
- parking or access problems on fitting day
- narrow stairs, tight hallways or awkward lifting routes
- extra cut-outs added late
- full-height splashbacks
- mitred edges or waterfall ends
- large islands with extra handling needs
- nobody available to confirm details during templating
- layout changes after the template has been taken
A standard fitting can often be completed quickly once the fabricated pieces are ready, but larger or more detailed kitchens need more planning. A small delay before templating is usually better than rushing the measurement, because once the quartz is cut, the options become more limited.
Why Choose MonoLux for Quartz Worktop Installation?
A good quartz worktop installation starts before fitting day. You need the right stone, accurate quote details, careful templating, tidy fabrication and a fitting team that understands the whole process.
With MonoLux, you can:
- Browse quartz worktops from £89/sqm
- Order free samples
- Use our Online Instant Quote Tool
- Get an expert review of your quote details in under 2 hours
- Visit our showroom and warehouse
- Benefit from direct slab sourcing
- Use our in-house CNC fabrication process
- Plan cut-outs, upstands, splashbacks and fitting details before the worktop is made
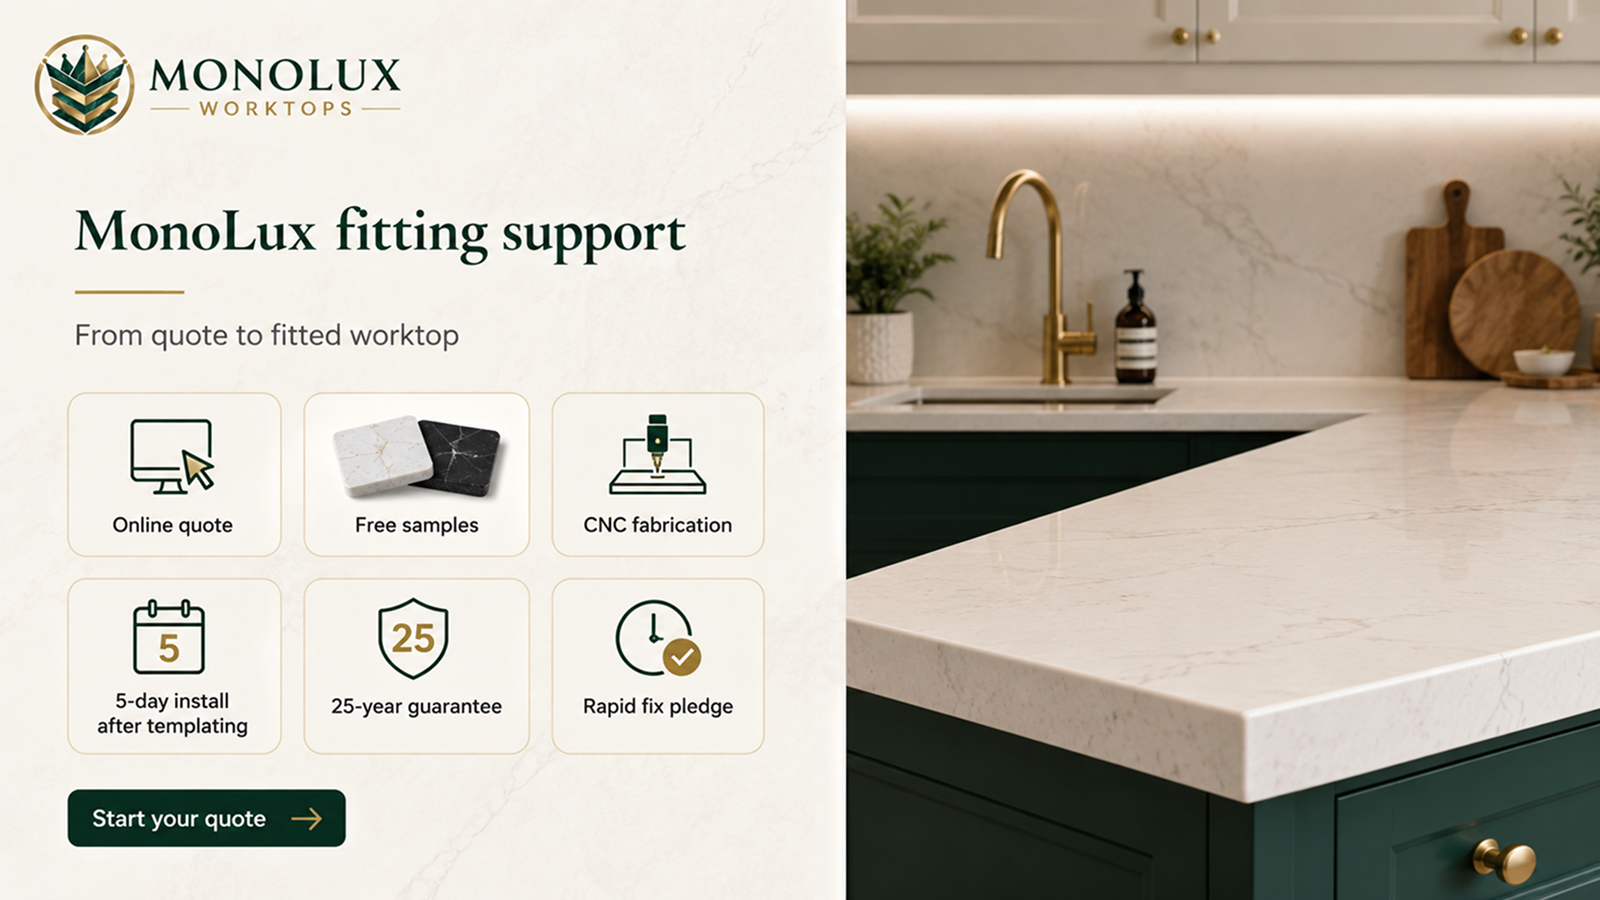
On suitable projects, we also offer five-day installation after templating. And once your worktop is in place, you’re covered by our 25-year quality guarantee and one-week rapid fix pledge, so you can feel confident long after the fitting is done.
If you already have your kitchen plan, you can start with our kitchen worktop quote tool. If you are still choosing colours, browse our quartz worktops and order free samples before finalising the design.
FAQs
How do they fit a quartz worktop?
Quartz worktops are templated, cut in the workshop, delivered in finished sections, lifted into position, checked against the cabinets, joined where needed, fixed with suitable adhesive or silicone, then checked before handover.
How is a quartz worktop attached?
Quartz is not normally screwed into cabinets. The worktop’s weight, level cabinet support and suitable adhesive or silicone help hold the pieces in place and bond joins.
Do quartz worktops sit directly on cabinets or need plywood?
Often, quartz sits directly on level cabinets. Some layouts may need extra support, especially around sinks, overhangs, large spans or thinner quartz. This should be checked before templating.
How are quartz worktops joined?
Joins are planned during templating and fabrication. On fitting day, the sections are aligned, bonded with suitable adhesive or resin, then finished so the seam looks as neat as possible.
How long from templating to fitting quartz?
It depends on fabrication, slab availability and layout detail. MonoLux offers five-day installation after templating on suitable projects, once the kitchen is ready and all fitting details are confirmed.
Can I install quartz worktops myself?
Quartz is heavy, hard to cut and easy to damage without the right equipment. DIY fitting is risky, especially with sinks, hobs, joins, islands and custom cuts.
Do appliances go in before quartz templating?
Appliances that affect cut-outs should usually be chosen and available before templating. Hobs, sinks, taps and pop-up sockets need accurate positions before the quartz is cut.
Can quartz be fitted in an L-shaped kitchen with custom cuts?
Yes. L-shaped kitchens can be fitted with quartz, but joins, corners, sink positions, hob positions and access need careful templating before fabrication.
How long after quartz is installed can you use it?
Light use may be possible soon after fitting, but avoid using sinks, joins or freshly sealed edges until the fitter confirms. Silicone, resin or adhesive around sinks and joins may need curing time.
How much does quartz worktop installation cost?
Installation cost depends on layout, access, thickness, joins, cut-outs, sink type, splashbacks and fitting area. A fitted quote is more useful than a material-only price.